


cinema 4d basEcamp
It was a time for a little upgrade!
I love designing and animating in 2D, but 3D was a whole new territory that I felt was valuable of being explored, in hopes of unlocking new creative potential and getting a new perspective (three-dimensional perspective included) of things. But on top of it is just to try a different playground and have loads of fun.
Cinema 4D Basecamp is a 12 -week beginner-friendly course with Maxon certified trainer EJ Hassenfratz, who will walk you through the basics—from 3D modeling to lighting and animation—of Cinema4D. Personally, I think he is a very good mentor because he talks from his own experiences and sometimes, can crack a joke.
Currently, I’m getting hands-on with the core tools of motion design and is learning a lot to build a solid foundation for diving into more advanced 3D work down the line. I’m still halfway the course, but I’m so hyped to share with you what I’ve accomplished so far!
Moving around 3D
The first class is about learning the geometric building blocks of 3D modeling in Cinema 4D—a series of exercises focusing on the fundamental modeling concept and techniques, that helped me in developing some muscle memory on how to shape, texturize, compose and light objects.
I’ve watched EJ bring a ramen shop to life in the beginning of the course, and then used the same techniques to build my own.
From one primitive object at a time you can see above my little noodle place.
Though the first real project was to model Our Favourite Place, I immediately thought of my grandma’s garden, where I used to visit a lot when I was little. I loved how green it was—surrounded by tropical plants, a tree with a beautiful orchid cascading from its top with a pond full of small fish and a couple of turtles, all being guarded by a big frog sculpture.
Oh, how I miss just pulling up a chair and a table and painting in the midst of that garden. During golden hour, that garden transformed into a magical world, lit by sun rays drifting through the trees—will definitely revisit this work to show that!


After a few warm-up exercises, it was time for my first real assignment. To keep building muscle memory with the fundamentals of 3D, I was tasked with turning 2D icons into 3D models for an imaginary gaming company called Mombi. The brief was… well, very brief (or should I say design very brief? LOL). I was given a single-page visual reference of the intended style and set off to work.
Using freshly learned tools—splines, generator objects, and some basic texturing and lighting—I challenged myself to model more efficiently.
Here’s what I proudly came up with:

After learning the “faster way” to model—using splines and deformers—we moved on to more advanced techniques: classic organic and hard surface modeling. These are, in my opinion, two of the most challenging lessons in the Basecamp, but also some of the most essential for building a solid modeling foundation.
Using basic sculpting tools, volume modeling features, decals, and an introduction to Redshift materials and lighting, I learned to manipulate polygons into a 3D model of a Gameboy and create an environment around it, as assigned. While working on it, I drew inspiration from the Super Mario world and ended up reimagining the iconic warp pipes… as the Gameboy itself.
liGhtinG and matErialS
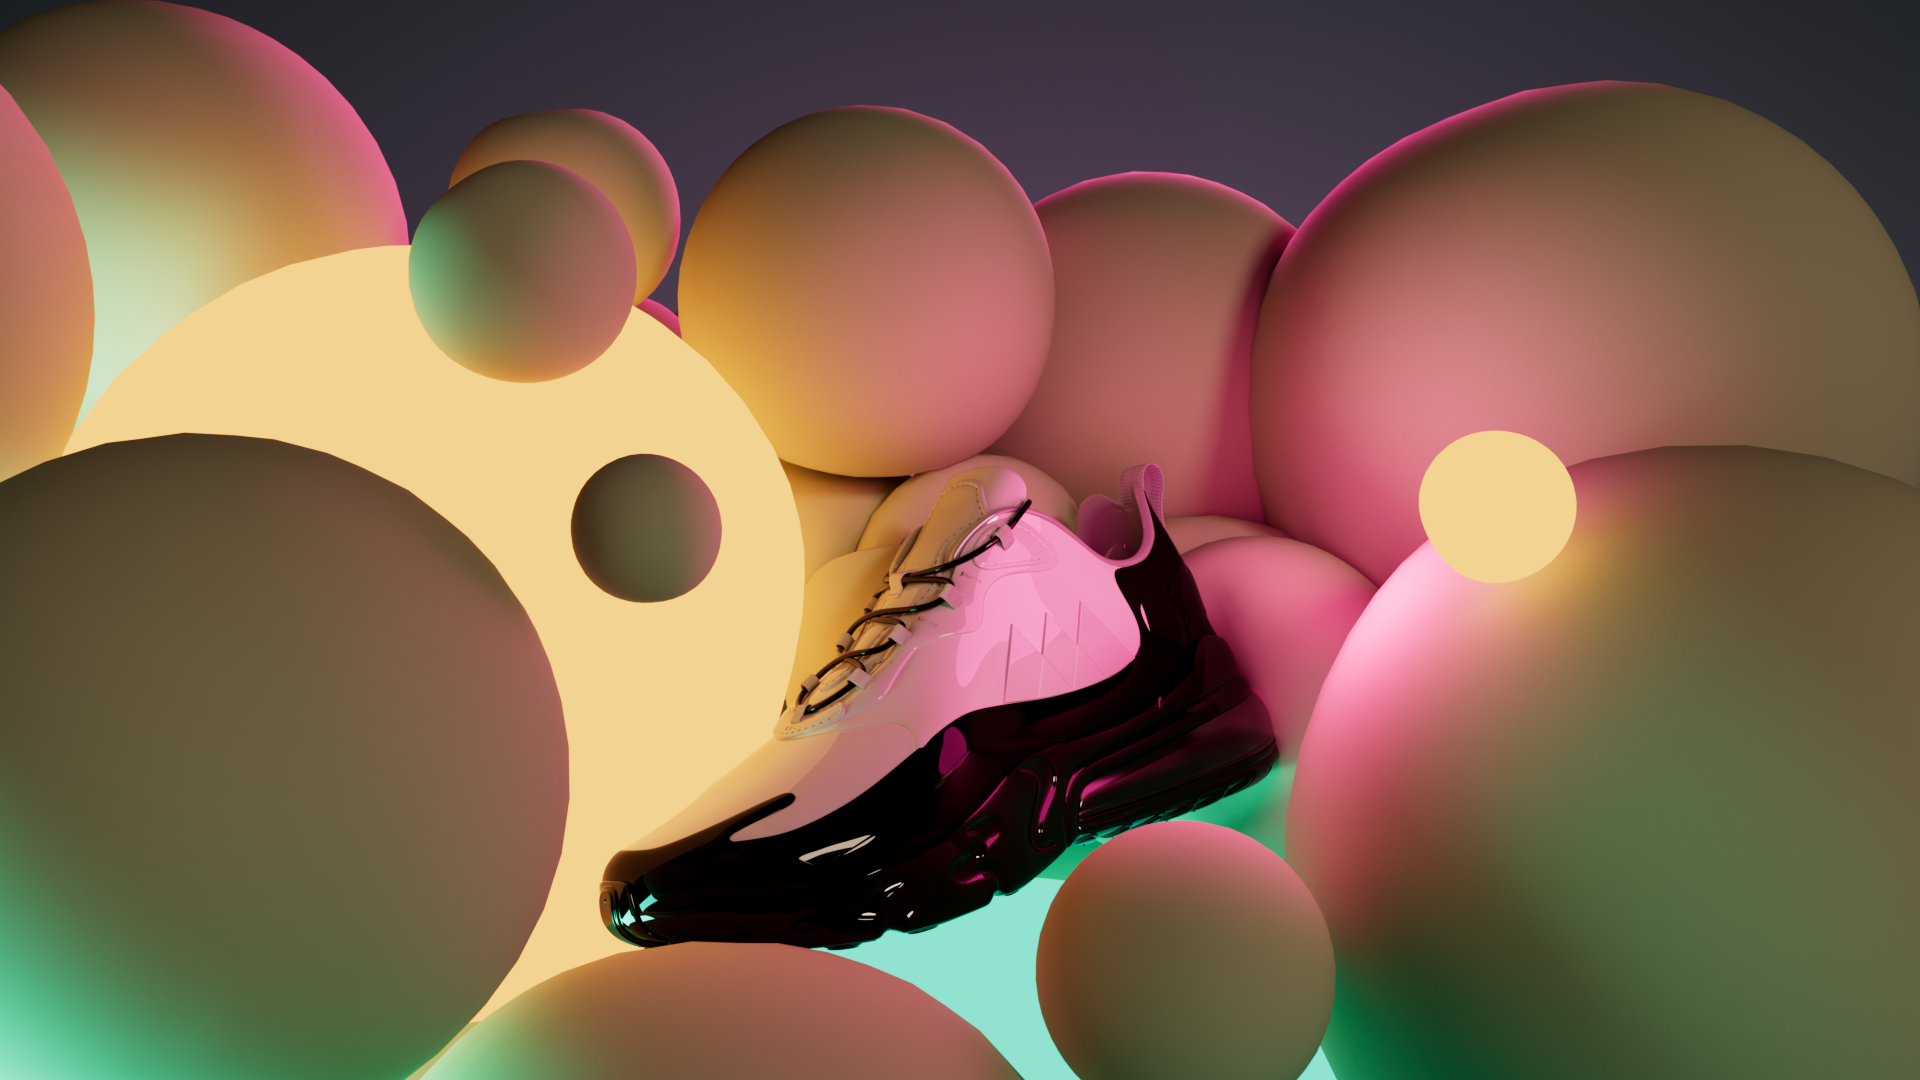
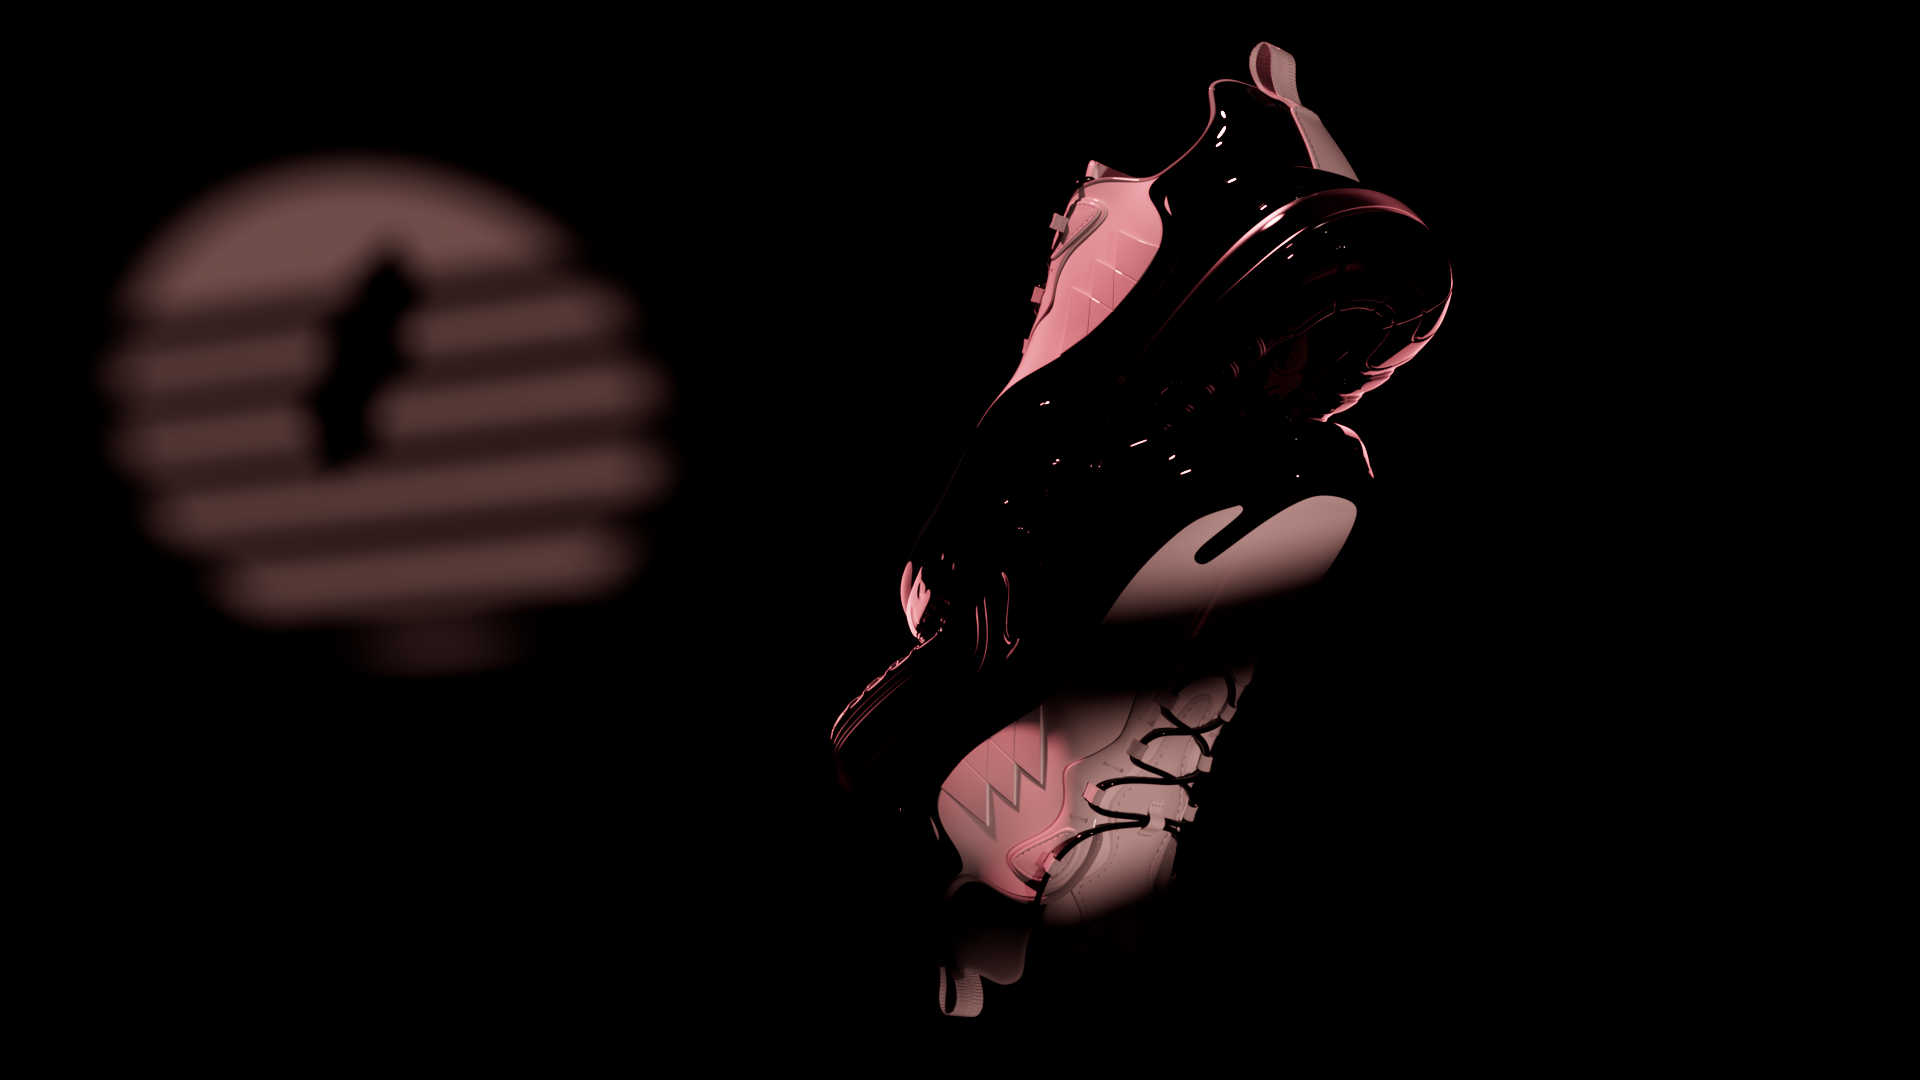
Then there was light. After a series of modeling classes and exercises, we were finally introduced to the basics of lighting—probably one of my favorite parts of the course. I’ve always loved shaping ambiance and playing with visual moods!
For this assignment, we were given a 3D shoe model to light from scratch and tasked with creating four distinct environments: one with high-contrast lighting, one with soft lighting, one noir, and one sci-fi. The challenge was to use light placement, intensity, and color to bring each atmosphere to life.

becOminG a 3D artiSt

animatinG
After learning how to model, texture, and light, it was finally time to make things move. While I’m used to animating in 2D, this was my first time working in 3D space. Thankfully, the animation principles I’ve mastered in After Effects translated surprisingly well to Cinema 4D—making the transition much smoother.
The challenge was to quite literally get the ball rolling. We had to animate a ball navigating a Rube Goldberg–style machine, applying the 3D animation principles, shortcut keys, and tools we’d just learned—such as the F-Curve Manager and Vibrate Tags.
I particularly enjoyed using the squash-and-stretch principle, not just on the ball but also on the pipe it was thrown into, for a more natural (and playful) motion.
We were given the base assets, but the animation itself was entirely up to us—how we brought the scene to life was our creative call.
One lesson learned: rendering in Cinema 4D takes time. To keep moving forward with the course, I opted for a quick viewport render for this project. I’ll definitely be revisiting it for a polished final render later.
cameraS anD compositiOns
As of now, my latest task in this basecamp had me channeling my inner Spielberg—literally what the assignment was called—by exploring cameras and
compositions in 3D space. I learned key camera tools (including how to achieve a handheld look using Vibrate Tags) and staging principles for creating well-composed shots and dynamic movements in a 15-second gaming spot.
Beyond camera work, I added micro-animations to the provided assets and layered in music for extra engagement. With my background as a marketing
designer, I couldn’t resist weaving in a few storytelling and marketing principles to make the piece more engaging.
Note that this is also a viewport render of the video and another project that I will definitely revisit in the future — and my first-ever 3D spot animation so I’d say I earned a pat on the back for this one!
Currently, I am still in the thick of Basecamp, so watch out for fresh outputs that will be landing here soon :-)